Canvas | Gradescope
Textbooks and Resources

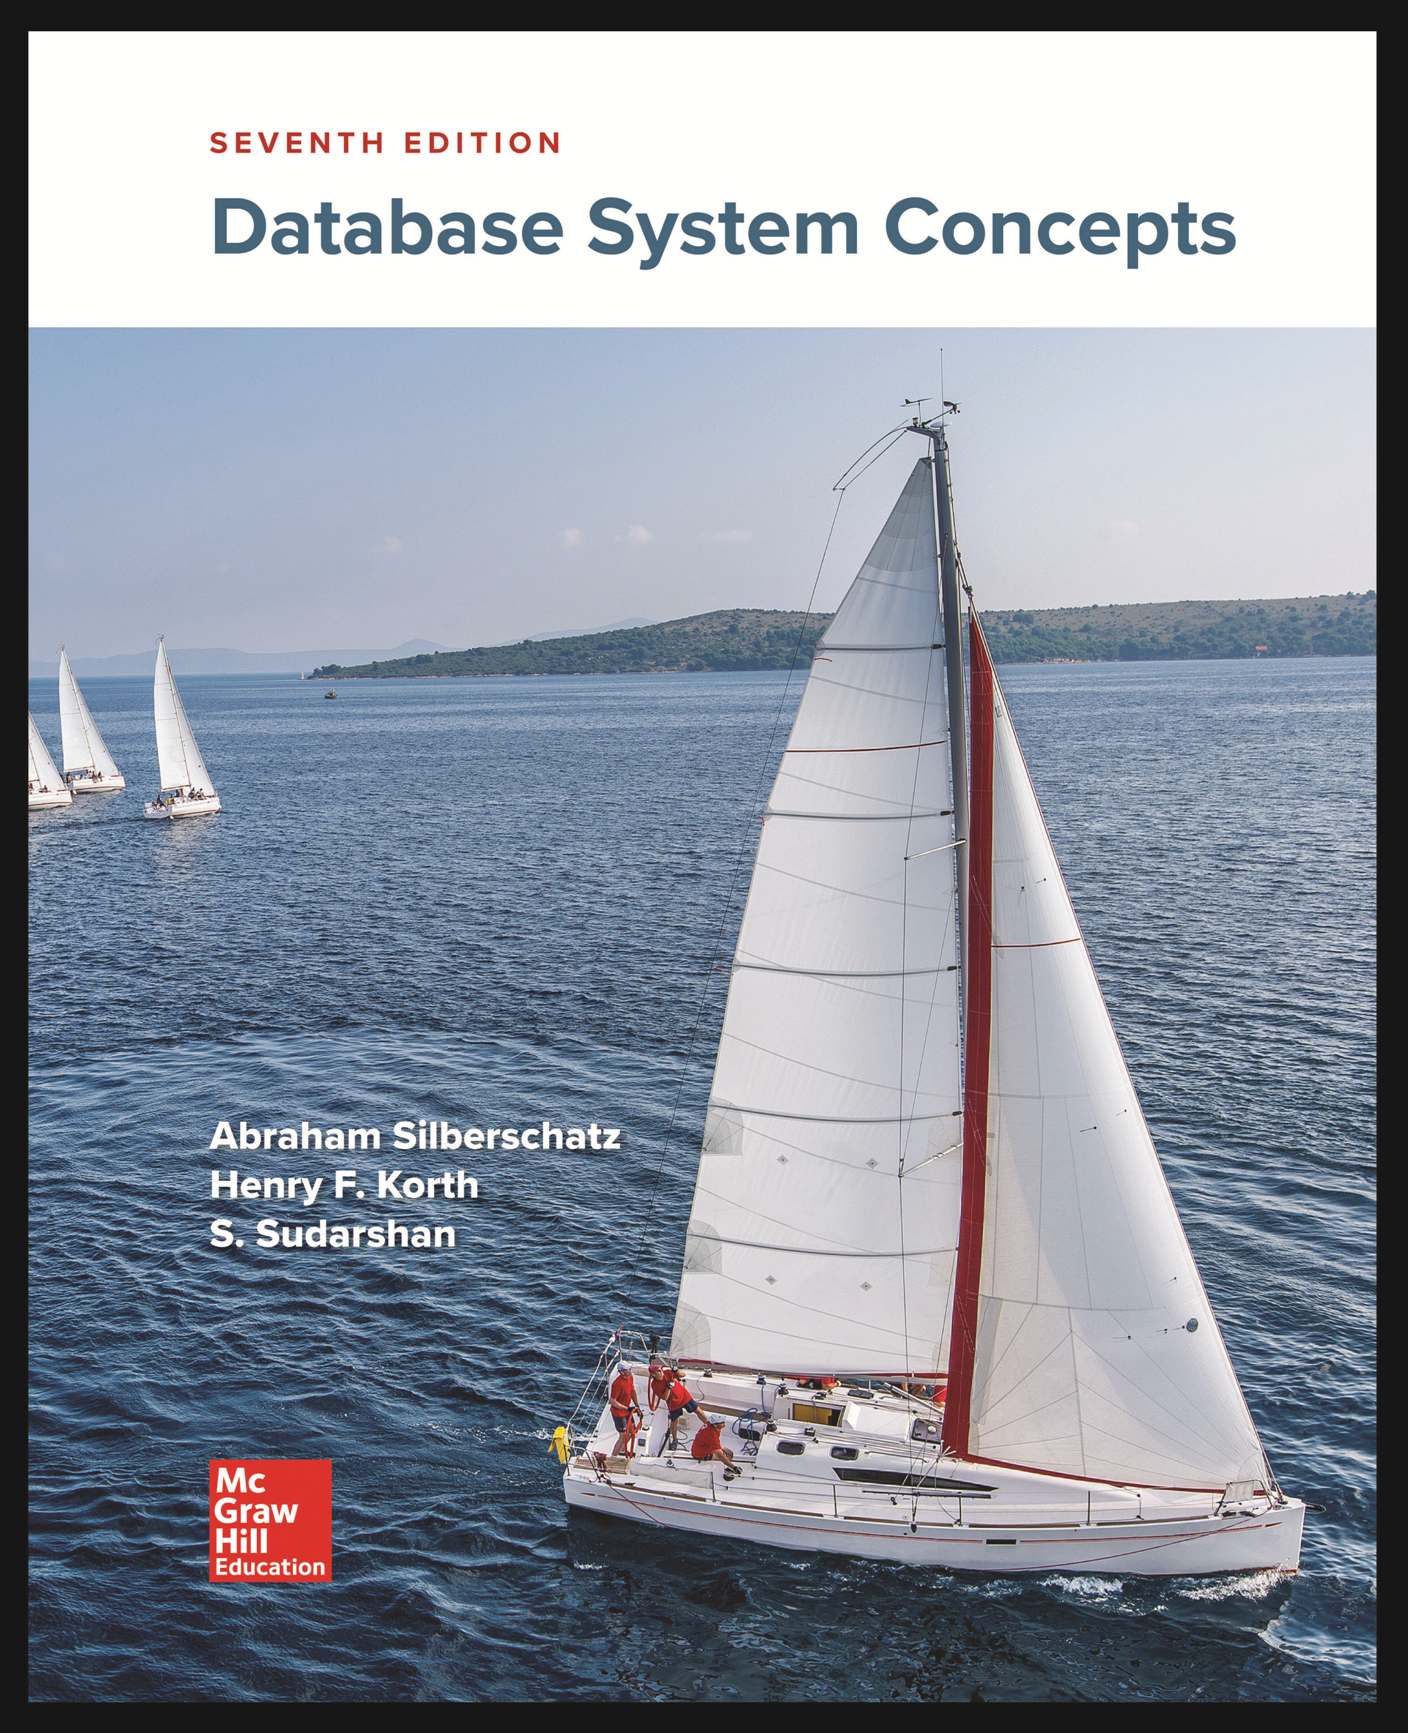
The official course textbook is Database Systems Concepts (7th edition), Silberschatz, et al.

For additional background on OS concepts, we recommend Operating Systems: Three Easy Pieces, Arpaci-Dusseau & Arpaci-Dusseau, which is available for free online.
C++ Links
- COMP 421 Bootcamp, which contains several small examples to get you familiar with C++11 features.
- Learncpp is a useful resource that includes quizzes to test your knowledge.
- cppreference has more detailed documentation of language internals.
- A Tour of C++ and Effective Modern C++ are also classic books that are widely available.
Tools
If you are using VSCode, we recommend you to install CMake Tools, C/C++ Extension Pack and clangd. After that, follow this tutorial to learn how to use the visual debugger in VSCode: Debug a C++ project in VS Code.
If you are using CLion, we recommend you to follow this tutorial: CLion Debugger Fundamentals.
If you prefer to use gdb for debugging, there are many tutorials available to teach you how to use gdb. Here are some that we have found useful:
- Debugging Under Unix: gdb Tutorial
- GDB Tutorial: Advanced Debugging Tips For C/C++ Programmers
- Give me 15 minutes & I’ll change your view of GDB [VIDEO]
Dev Environment
We recommend developing BusTub on Ubuntu 22.04, or using a provided container image of Ubuntu 22.04. We do not officially support any other environments (i.e., do not open issues or come to office hours to debug them). We do not support WSL. You may be able to build the project on other Ubuntu versions, as well as MacOS, but do so at your own risk. The grading environment runs Ubuntu 22.04.
Linux (Recommended) / macOS (Experimental)
To ensure that you have the proper packages on your machine, run the following script to automatically install them:
# Linux
$ sudo build_support/packages.sh
# macOS
$ build_support/packages.sh
Then run the following commands to build the system:
$ mkdir build
$ cd build
$ cmake ..
$ make
If you want to compile the system in debug mode, pass in the following flag to cmake: Debug mode:
$ cmake -DCMAKE_BUILD_TYPE=Debug ..
$ make -j`nproc`
This enables AddressSanitizer by default.
If you want to use other sanitizers,
$ cmake -DCMAKE_BUILD_TYPE=Debug -DBUSTUB_SANITIZER=thread ..
$ make -j`nproc`
There are some differences between macOS and Linux (i.e., mutex behavior) that might cause test cases to produce different results in different platforms. We recommend students to use a Linux VM for running test cases and reproducing errors whenever possible.
While there are many ways to run in a Linux environment these days, we provide two ways for students to do this using Docker. The first step for both options is to follow the instructions for setting up Docker on your host machine.
Option 1: Docker
If you prefer to develop directly in a Linux environment, you can start and attach to a pre-configure container with all necessary packages installed by running:
./docker_exec.sh
This script will create and set up a container image for bustub, or attach to a running bustub container if one already exists.
Some MacOS users have reported a command not found: docker error when first running this script. If you see this error, you most likely need to add docker to your PATH.
Option 2: VS Code Dev Containers
If you prefer to use VS Code, this repository is set up to integrate with the VS Code Dev Containers extension. You can use this by:
-
Installing the Dev Containers extension
-
In VS Code, from the command palette (F1), select Dev Containers: Clone Repository in Named Container Volume
-
Enter a name for the named docker volume (can be any name, something like bustub-volume)
-
Confirm the name of your working directory (should be auto-populated by VS Code)
WARNING: If you are not prompted for a volume name as in step (3) above, you selected the wrong Dev Containers option in step 2. Please select the named volume option to prevent data loss.
You should now be able to develop, test, and commit code directly from the container or VS Code.